
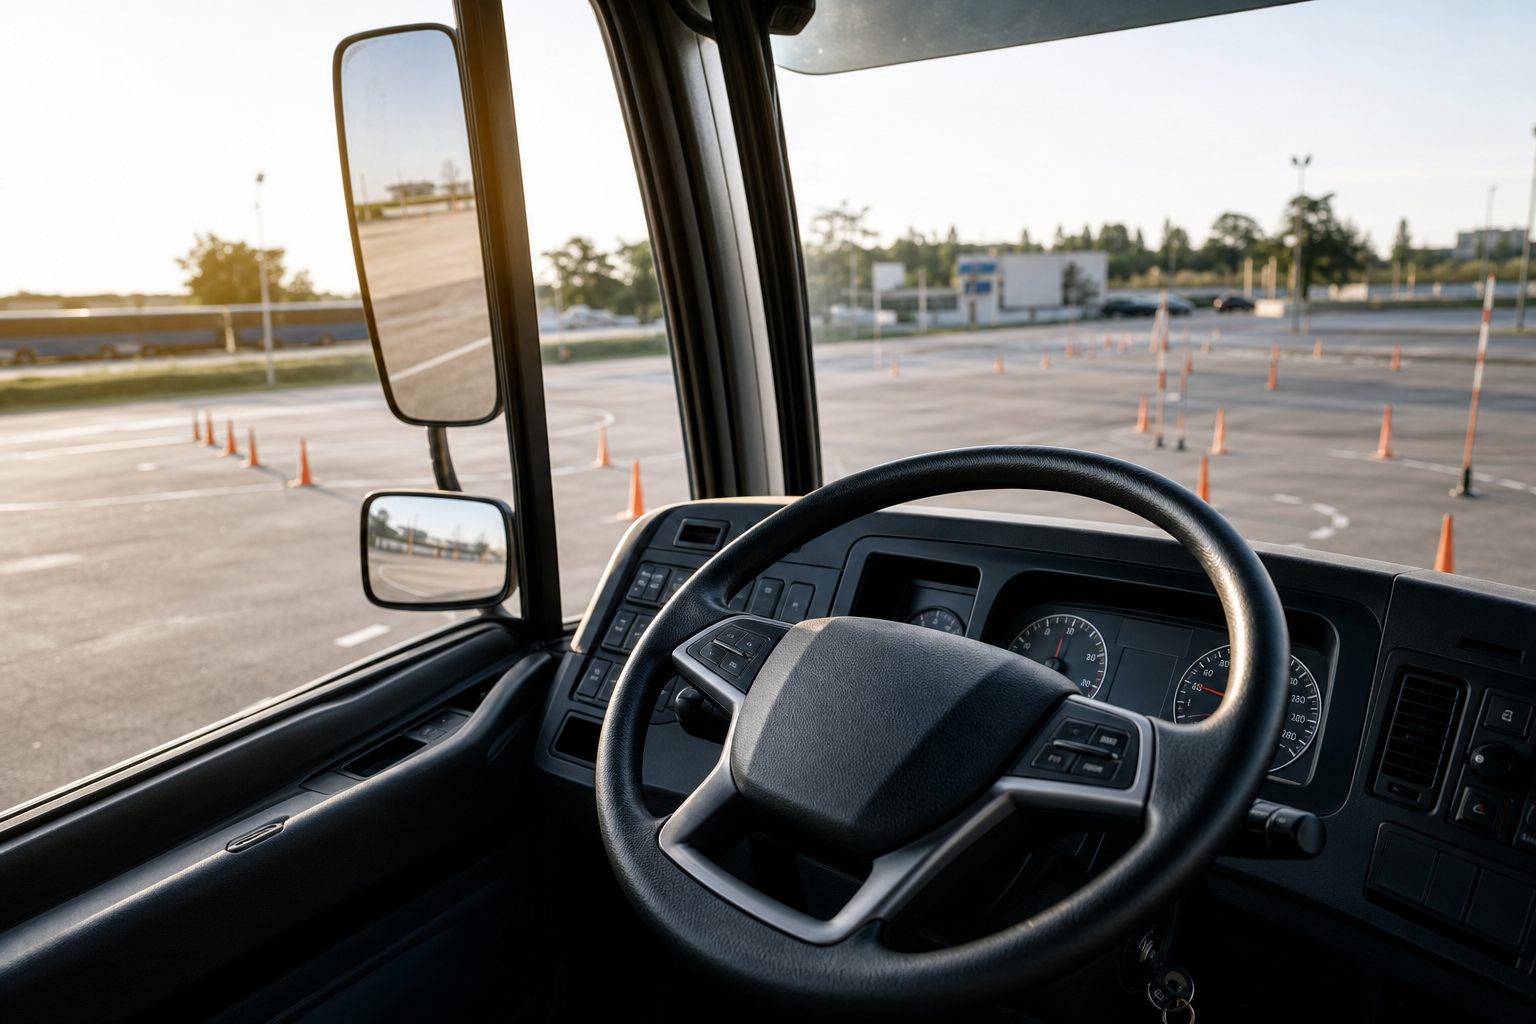
Whether you are learning to handle a compact car, a straight truck, a coach bus, or a tractor–trailer, the core of progress happens in the driver’s seat. Classroom knowledge gives you concepts; behind-the-wheel driving instruction turns them into habits. This article outlines how on-road, in-vehicle coaching typically works, what to expect in your first sessions, how to structure practice for steady improvement, and how to self-assess without guesswork.
What behind-the-wheel instruction covers
Though vehicles, licences, and lesson lengths vary, solid in-vehicle instruction tends to include four building blocks that repeat and deepen over time:
- Vehicle orientation and controls — Seating and mirror setup, dash indicators, pre-trip walkarounds, and where critical switches and gauges live.
- Low-speed fundamentals — Starting and stopping smoothly, lane positioning, scanning, and basic turning technique in quiet areas or yards.
- Progressive complexity — Introducing traffic, varied road types, intersections, hills, curves, and gradually more challenging environments.
- Mistake analysis and correction — Short debriefs that turn errors into clear adjustments for the next repetition.
Within that structure, your coach will tailor tasks to your current skill. Novice learners might spend significant time on clutch control or mirror usage, while experienced drivers shifting licence classes might focus on space management, advanced backing, or defensive positioning around vulnerable road users.
How to prepare before your first lesson
Arriving prepared lets you use your paid time for skill-building, not setup. Use this pre-lesson checklist:
- Review key rules and diagrams — Right-of-way basics, signage, lane markings, speed management, and any vehicle-specific procedures you’ve learned in class.
- Rest and hydration — Fatigue slows reaction time and decision-making. Aim to arrive rested and alert.
- Footwear and clothing — Closed-toe, thin-soled footwear helps pedal feel; avoid bulky items that snag on controls.
- Vision and paperwork — Bring required permits, eyewear if prescribed, and anything your school specified for in-vehicle sessions.
- Personal goals — Identify 2–3 skills you want to improve (e.g., smoother downshifts, wider right turns, mirror timing in lane changes). Share them at the start.
Finally, plan to take quick notes right after your session. Jotting down what worked, what didn’t, and what to repeat in the next lesson compounds learning.
A structured first 10 hours
The outline below is a common progression. Your coach may sequence items differently, but the logic—build stable control, layer complexity—remains consistent.
- Hour 1: Setup and control feel
- Seat/mirror fit, dead pedal placement, hand position, and mirror scanning rhythm.
- Basic starts/stops in a low-traffic area; smooth throttle and brake application.
- Hour 2: Slow-speed steering and turns
- Figure-eights and wide turns in a lot or quiet streets.
- Early mirror checks before and during turns; lane position on entry/exit.
- Hour 3: Space and speed management
- Following distance rules, smooth speed changes, scanning 12–15 seconds ahead.
- Intro to hills or grades if relevant to your vehicle.
- Hour 4: Intersections and right-of-way
- Controlled and uncontrolled intersections; timing approaches; seeing hazards early.
- Decision points: commit, cover brake, or wait.
- Hour 5: Lane changes and merges
- Signal–mirror–blind-spot checks, gap selection, maintaining speed while merging.
- Observation discipline: mirrors every 5–8 seconds, frequent rear assessment.
- Hour 6: Backing foundations
- Straight-line backing with reference points and slow corrections.
- Managing steering delay and keeping hands slow and small.
- Hour 7: Complex traffic
- Busier corridors, multi-lane roads, variable speeds.
- Anticipating cut-ins, reading pedestrian intent, handling rolling bottlenecks.
- Hour 8: Special manoeuvres
- Three-point turns or U-turn assessments where legal and safe.
- For larger vehicles: setup for wide rights, off-tracking awareness, trailer swing.
- Hour 9: Adverse elements
- Light rain practice, nighttime scanning concepts (as feasible and permitted).
- Glare management, longer following gaps, gentle inputs on low traction.
- Hour 10: Assessment and consolidation
- Run a varied route to test transfer of skills.
- Identify the smallest change that would have made each challenge easier.
By treating each hour as a focused block, you avoid “random practice,” which feels busy but leaves gaps. The right repetitions, at the right difficulty, at the right time—this is the engine of skill.
Coaching cues that make a difference
Great cues are short, specific, and repeatable. Here are examples you can remember and apply:
- “Set before you move.” Adjust seat, mirrors, and mental plan before rolling.
- “Eyes up, mirrors often.” Scan far ahead but check mirrors habitually for evolving threats.
- “Brake early, lighter, longer.” Smooth deceleration preserves space and keeps following traffic predictable.
- “Slow hands, small hands.” Fine steering inputs prevent overcorrection, especially when backing.
- “Talk the drive.” Verbalize what you see and intend to do; it surfaces missed cues and clarifies priorities.
Ask your instructor which one or two cues apply most to your current focus, then use them as a refrain for the session.
A repeatable lesson template
Use this 4-part structure to get the most from each session, regardless of vehicle type:
- Brief (5 minutes)
- Confirm the specific objective: “Hold lane center on curves,” or “Mirror–signal–blind-spot discipline at 60–80 km/h.”
- Agree on one diagnostic metric (e.g., number of signal–mirror checks done early enough).
- Warm-up (10–15 minutes)
- Re-run last session’s best drill at an easy level to restore feel and confidence.
- Focused reps (30–45 minutes)
- 3–5 sets of the target skill, gradually raising difficulty: more traffic, tighter turns, longer gaps to judge.
- Short pull-overs for feedback after each set, not after every attempt.
- Cool-down and plan (5–10 minutes)
- Summarize one thing to keep, one to change, one to test next time.
- Note any home study: diagrams to sketch, rules to re-read, or mirror timing drills to visualize.
This simple arc keeps you out of “just driving around” mode and squarely in targeted skill acquisition.
Common errors and fixes
- Wide or tight turns
Fix: Start your turn later, look where you want to exit, and steer with patient hands. For long vehicles, set a deeper approach and track trailer swing with mirrors. - Pumping the brakes
Fix: Shift your focus farther ahead and begin decelerating earlier with steady pressure. Count “one-one-thousand” to smooth inputs. - Late mirror checks
Fix: Anchor mirror sweeps to triggers—signal on, passing major intersections, every 5–8 seconds on open roads. - Oversteer when backing
Fix: Pause; let the vehicle’s last input finish. Use small, deliberate corrections and re-center after each one. - Rushing merges
Fix: Pick a gap early, match speed, signal assertively, and commit smoothly without sharp steering.
Drills you can practice, legally and safely
Always follow local rules, posted signs, and your instructor’s guidance. When permitted and safe, these low-risk drills build foundational feel:
- Mirror metronome — On a quiet straight, check mirrors on a 5–8 second rhythm. Say “left–right–center” to reinforce sequence.
- Feathered stop — Pick a parking-lot line and aim to stop with a 2 cm roll. The goal is throttle–brake finesse.
- Corner cones — Use imaginary cones at corner entries and exits. Practice turning so your path “brushes” the outside cone on entry and lines up early on exit.
- Straight-line backing markers — Align with a painted seam or curb shadow; back slowly while keeping equal space on both sides in mirrors.
Short, focused drills prevent fatigue and over-practice. Ten excellent minutes beats an hour of unfocused laps.
Safety mindset that scales
Good behind-the-wheel instruction instills a mental model you can apply anywhere:
- See first — Scan far, then near, then mirrors. Hazards caught early are hazards neutralized.
- Leave room — Space buys time. Time buys options.
- Signal intent — Signals, lane position, and speed changes should tell a clear story to others.
- Slow is smooth under pressure — Calm, deliberate inputs keep the vehicle stable and your thinking clear.
These principles travel with you—from quiet suburbs to highways, from daylight to dusk, and from small vehicles to large ones.
Self-evaluation without guesswork
Use a quick scorecard after each lesson. Rate 1–5 on:
- Pre-trip setup and situational awareness
- Speed control and spacing
- Mirror discipline and blind-spot checks
- Turn planning and lane position
- Backing control and patience
- Communication (signals, brake lights, vehicle placement)
Then write two short reflections:
- “If I had one more second, what would I do differently?”
- “What cue helped the most today?”
Over time, your scores and notes will show patterns—where you’re reliably strong and where targeted reps will pay off fastest.
Working with your instructor
Great coaching is a partnership. To get the most from each ride-along:
- Share context — Your driving background, learning preferences, and any anxieties help shape smarter lessons.
- Ask for the “why” — Understanding the reason behind a cue makes it easier to apply under stress.
- Request one key focus — Too many goals dilute attention. One or two priorities are easier to remember on the road.
- Debrief fast — Short, specific feedback beats long lectures. Ask, “What’s my one keep and my one change?”
FAQ
How many hours of behind-the-wheel instruction do most learners need?
It varies widely by prior experience, vehicle type, and lesson frequency. Rather than chasing a number, track objective milestones: consistent lane centring, timely mirror checks, smooth speed changes, confident turns, and stable backing. When these become repeatable across different routes and traffic levels, you are approaching test readiness.
What should I prioritize if I’m short on practice time between lessons?
Focus on transferable fundamentals: scanning rhythm (far–near–mirrors), early speed control, and disciplined mirror–signal–blind-spot sequences. These skills lift the quality of everything else you do behind the wheel.
Is it better to space lessons out or book them close together?
Both spacing and intensity help. A concentrated burst early on can establish core habits and confidence. Then, slightly spaced sessions with targeted homework (short drills, rules review, route visualization) help you retain and refine skills.
How do I know if nerves are the problem, not skill?
Look for inconsistencies. If you perform a task well in low demand but struggle in traffic, anxiety and workload may be the culprits. Use breathing cues, simplify your focus (one cue per minute), and ask your coach to lower complexity temporarily, then add it back gradually.
Can I practice advanced manoeuvres on my own?
Only when it is legal, safe, and you are authorized to operate the vehicle. Many advanced skills—like complex backing patterns or large-vehicle turn setups—benefit from supervised coaching and controlled environments.
Your next step
If you’re comparing programs and want hands-on lessons that translate from the driver’s seat to real roads, explore course options and contact JAZ Truck, Bus & Forklift Driving School at their official website: https://truckdrivingschooltoronto.ca/.
Comments are closed