

air brake training scarborough: how to choose a course, prepare well, and feel road-ready
If you’re searching for air brake training Scarborough, you’re likely focused on two outcomes: learning how air brake systems actually work and feeling confident using them under real operating conditions. This article gives you a practical, hype-free framework to compare local options, prepare efficiently, and avoid the most common mistakes learners make before their assessment or skills check.
What air brake training covers
Good training focuses on understanding the system, operating it safely, and proving that knowledge in practice. While individual schools structure the flow differently, the most durable topics typically include:
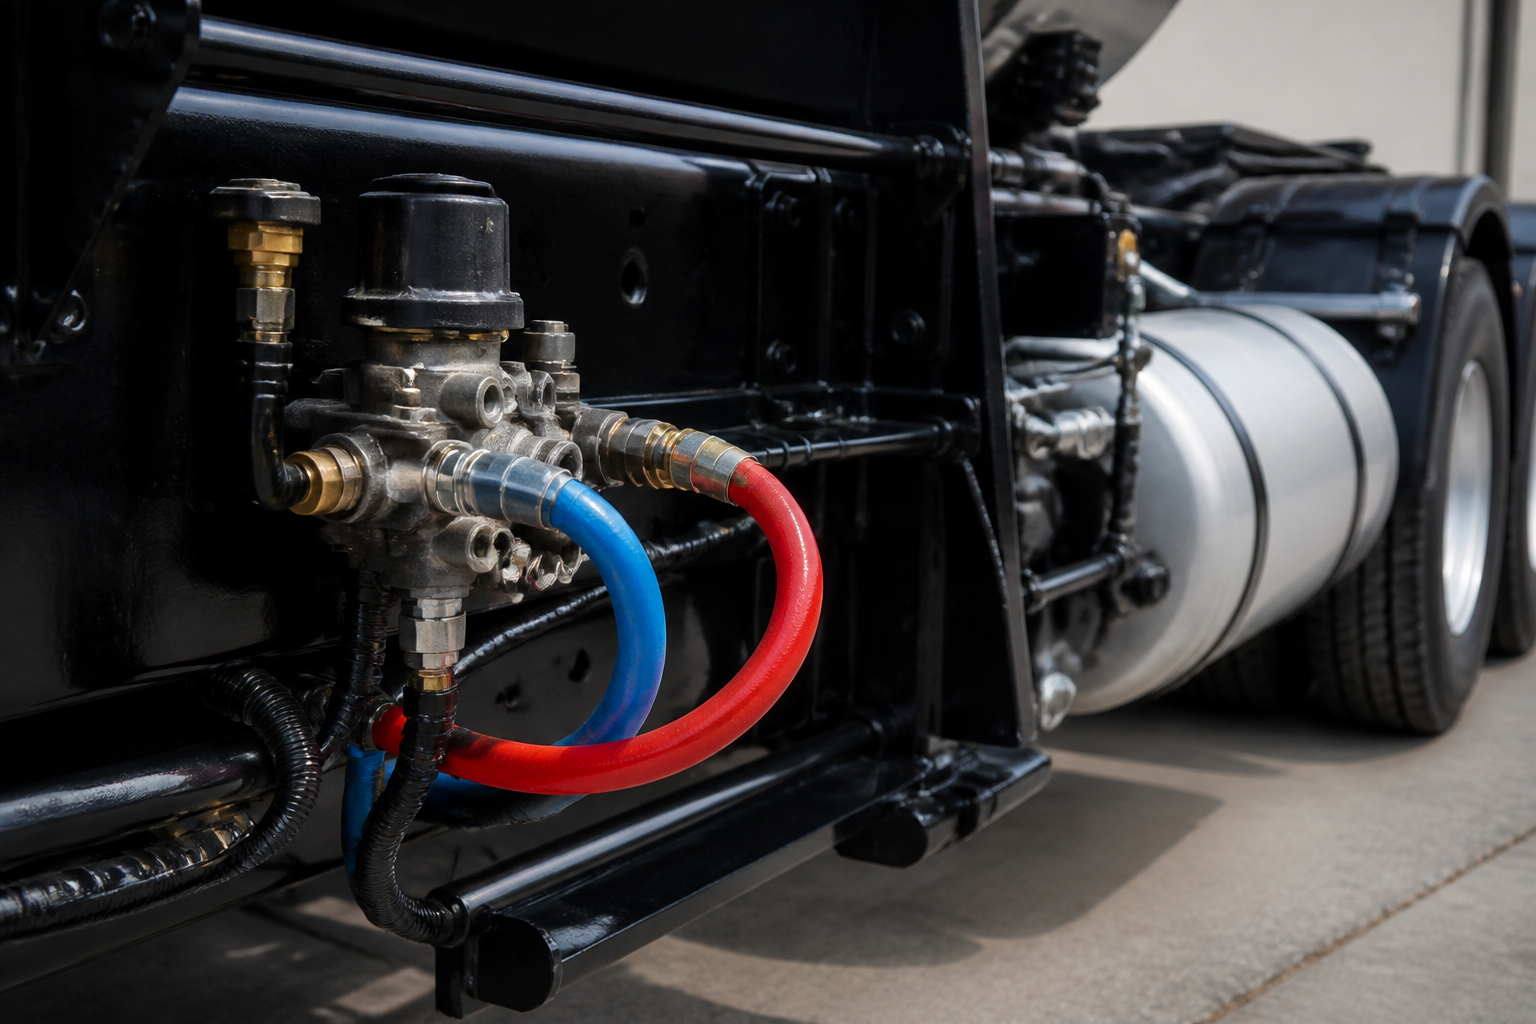
- System fundamentals: compressor, governor, reservoirs, lines and hoses, valves, brake chambers, slack adjusters, and foundation brakes.
- Controls and indicators: primary and secondary gauges, warning devices, parking/emergency controls.
- Start-up, build-up, and safe shutdown routines: steps to bring the system online, verify function, and secure it.
- Pre-trip air checks: systematic ways to confirm pressure, leaks, and component condition before moving.
- In‑motion technique: smooth, progressive braking; using transmission retarding where appropriate; avoiding heat and fade.
- Parking and emergency practices: chocking, gradient awareness, and controlled stops.
- Documentation and communication: recording issues, reporting defects, and describing symptoms clearly.
By the end of effective training, you should be able to explain what each major component does, demonstrate safe operation from start to stop, and identify when something doesn’t look, sound, or feel right.
How to compare local providers in Scarborough
Comparing options becomes easier when you use the same criteria for each provider. Work through this checklist and keep notes as you research and call schools:
- Curriculum clarity: Ask for a plain‑English outline that shows classroom topics, demonstrations, and hands‑on time.
- Instructor background: Request a summary of instructor experience specific to air brake systems and real‑world operations.
- Equipment exposure: Confirm you’ll see and handle components you’ll actually encounter—on a vehicle and on a training aid.
- Practice structure: Look for time‑boxed drills (build‑up checks, leak checks, emergency stop simulations) rather than only lectures.
- Feedback frequency: Ask how often you’ll receive structured feedback and whether it’s written, verbal, or both.
- Group size: Smaller groups often mean more repetition per learner; ask how time is allocated when classes are full.
- Scheduling fit: Confirm session times, rescheduling options, and what happens if you miss a class.
- Preparation materials: Check whether you’ll get a study guide, checklists, and sample questions to review at home.
- Road-test readiness support: Clarify whether practice includes realistic walk‑throughs of the checks and scenarios you’ll be asked to demonstrate.
- Transparency: Factual answers to practical questions are a good sign; avoid vague promises or unclear responses.
Use the same questions with each school so you can make a like‑for‑like comparison and pick the program that fits your learning style, timeline, and comfort level.
A practical prep plan you can start today
Even before your first class, you can build momentum with a simple daily routine. The goal is to make the language of air brakes and the flow of checks feel familiar, so you learn faster during training.
- Learn the language: Create flashcards for components (compressor, governor, reservoirs, chambers, valves, slack adjusters). On each card, write the purpose, how to identify it, and what a common issue might look like.
- Map the airflow: Sketch a basic path from the compressor to the wheels. Add where control and safety valves sit. You don’t need artistry—just arrows and names to visualize cause and effect.
- Rehearse the sequence: Practice a spoken pre‑trip script for air checks. For example, “Vehicle secured, parking control applied, chocks in place, gauges at X, warning device verified…” Saying it out loud builds recall speed.
- Time your routine: On paper, time the steps you’d perform. Keep it unhurried but purposeful. Consistent pacing helps under pressure.
- Journal your questions: Note anything unclear and bring that list to class. You’ll get more out of limited instructor time.
These simple habits reduce cognitive load later. When you already know the terms and order, you can focus on feel: air sounds, gauge behaviour, pedal response, and coach feedback.
Hands-on drills that build confidence
Once you’re in training, repetition is king. Ask your instructor for extra reps of the high‑value drills below. They’re short, measurable, and map directly to everyday safety:
- Gauge literacy sprints: Stand in the cab and narrate what each gauge should show at idle, during build‑up, and after repeated service brake applications. Keep each narration to 60–90 seconds.
- Leak‑check cadence: Repeat leak checks until the order is automatic. Vary the starting conditions so you learn to adapt.
- Control identification: Eyes closed, hand to the correct control or indicator when named. Then explain what it does.
- Parking on gradients: With supervision, practice securing the vehicle on modest grades—chocking and testing for solid hold.
- Progressive braking: On a safe range with instruction, practice smooth pressure application and release to prevent abrupt weight transfer.
Short, focused sets keep nerves low and learning high. Track improvements in a notebook—especially the steps you consistently miss—so you can target them next session.
Pre-trip air checks without the jitters
Most learners feel pressure during pre‑trip checks because the process is detailed and time‑sensitive. A few techniques make it manageable:
- Anchor points: Break the check into named blocks (securement, build‑up, warnings, service checks, parking). Say each block name before you begin it.
- Finger‑trail method: Physically trace components and lines while you speak. Tactile movement cues memory.
- Two‑pass scan: First pass for obvious issues (cuts, leaks, rubs). Second pass for fasteners and mounts.
- Auditory focus: When possible, quiet the cab for sound‑based checks so you’re not fighting background noise.
- Verbalize findings: Even if you’re alone, narrate what you see, hear, and feel. Clear language clarifies thought.
Confidence comes from doing the same good routine the same good way. Keep your checklist in a consistent order and resist the urge to skip around under stress.
What to bring and how to study
Simple preparation pays off. Pack smart and study with intention:
- Notebook and pen: Dedicated only to air brakes. Keep diagrams, checklists, and questions in one place.
- Index cards: For component names, purposes, and common issues.
- Work gloves and flashlight: Handy for component identification and inspection practice.
- Phone camera: With permission, photograph training aids or vehicle components to review later.
- Water and snacks: Learning is physical and mental; staying fuelled helps attention and recall.
Study in short bursts—20 to 30 minutes—with one narrow goal each time (for example, “governor and valves only” or “parking controls and warnings only”). End each session by writing one paragraph that explains what you learned in your own words.
Common mistakes and how to avoid them
Knowing the pitfalls helps you sidestep them early:
- Memorizing words, not meaning: If you can’t explain why a step exists, you’ll struggle to adapt when conditions change. Always tie steps back to the physics of compressed air and friction.
- Rushing the pre‑trip: Speed appears after accuracy. Build a clean, consistent routine first; pace comes naturally with repetition.
- Ignoring feel and sound: Gauges matter, but so do hissing, vibration, pedal firmness, and response timing. Train your senses.
- Skipping recovery breaths: Under pressure, people hold their breath and lose focus. Add one slow breath before each major block.
- Not logging errors: The mistake you don’t write down is the one you’ll repeat. Keep a “miss log” and rehearse fixes.
Building long‑term skill after your course
Air brake skills sharpen with use. After training, keep your knowledge fresh with lightweight habits:
- Monthly refresh: Re‑draw the airflow path and label major components from memory.
- Five‑minute checks: Before longer drives, narrate a condensed version of your pre‑trip air routine.
- Peer practice: If you have access to colleagues, take turns calling out components and their purposes.
- Issue library: Save photos and notes of real‑world defects you encounter so you recognize them faster next time.
Consistency is more important than intensity. Small, regular reps keep skills reliable when you need them most.
FAQs: air brake training scarborough
How long does it take to feel comfortable with air brake checks?
It varies by learner and practice frequency. Many people report that a few focused sessions of hands‑on drills and narrated routines dramatically reduce nerves. The key is repetition with feedback rather than cramming.
What should I look for in training equipment?
Look for access to a real vehicle setup and a training aid that exposes components you can see and touch. Being able to trace lines and point to valves, chambers, and adjusters makes the system easier to remember and explain.
How can I make pre‑trip air checks feel less overwhelming?
Break the process into named blocks, use a consistent script, and practice with a timer only after you can complete the steps smoothly. Verbalize what you’re doing as you do it—clear narration helps you stay organized under pressure.
Do I need prior mechanical knowledge to start?
No. Familiarity helps, but training is designed to meet learners where they are. If you study core terms in advance and ask targeted questions, you’ll progress quickly.
What if I make a mistake during practice drills?
That’s expected. Note exactly where your sequence broke, write the corrected step, and repeat the drill immediately in a short set. Small, quick cycles are more effective than long, infrequent sessions.
Your next step
If you’re ready to compare local course options or want details about program availability near you, visit JAZ Truck, Bus & Forklift Driving School: https://truckdrivingschooltoronto.ca/.
Comments are closed